Will 2,4-D Kill Trees? (Solved)
If you’ve ever battled weeds in your yard, you’ve probably heard of 2,4-D.
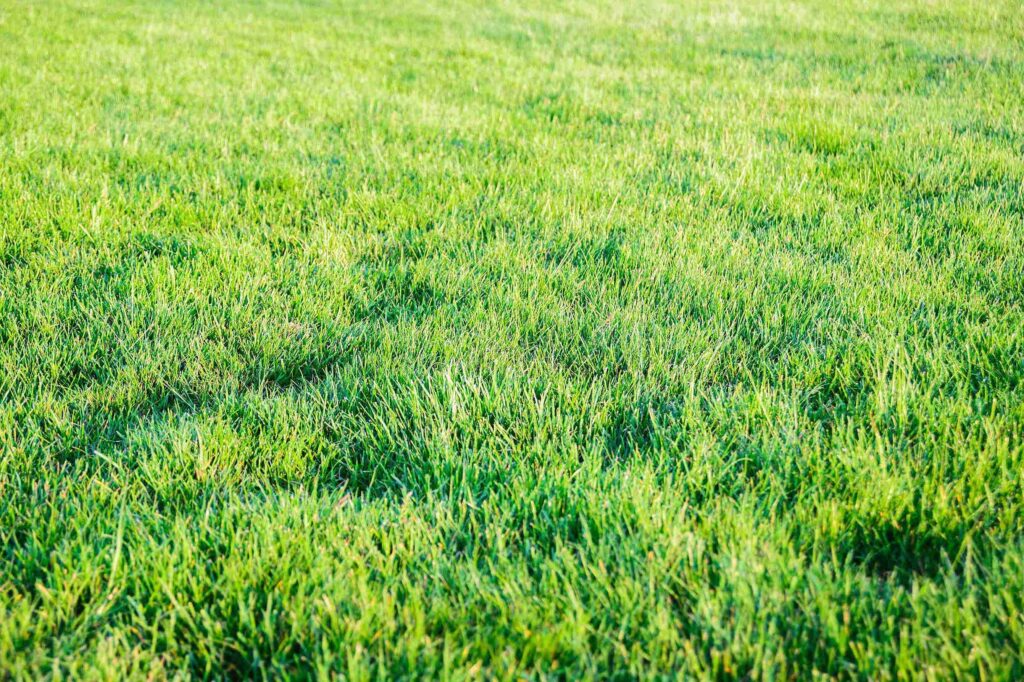
It’s one of those go-to herbicides that promises to knock out dandelions, clover, and all the other broadleaf troublemakers without messing up your grass. Sounds perfect, right?
But then you glance at your trees and start to wonder: is this stuff safe for them?
Could spraying weeds end up hurting the very trees you’re trying to protect?
That’s exactly what we’re diving into here. We’ll explain if 2,4-D can kill trees, when it can cause damage to trees, and what signs to watch for. Plus, we’ll go over a few safer options you can use if you don’t want to take any chances.
Can 2,4-D Kill Trees?
Yes, 2,4-D has the potential to kill trees. But it usually takes a strong, direct hit or repeated exposure.
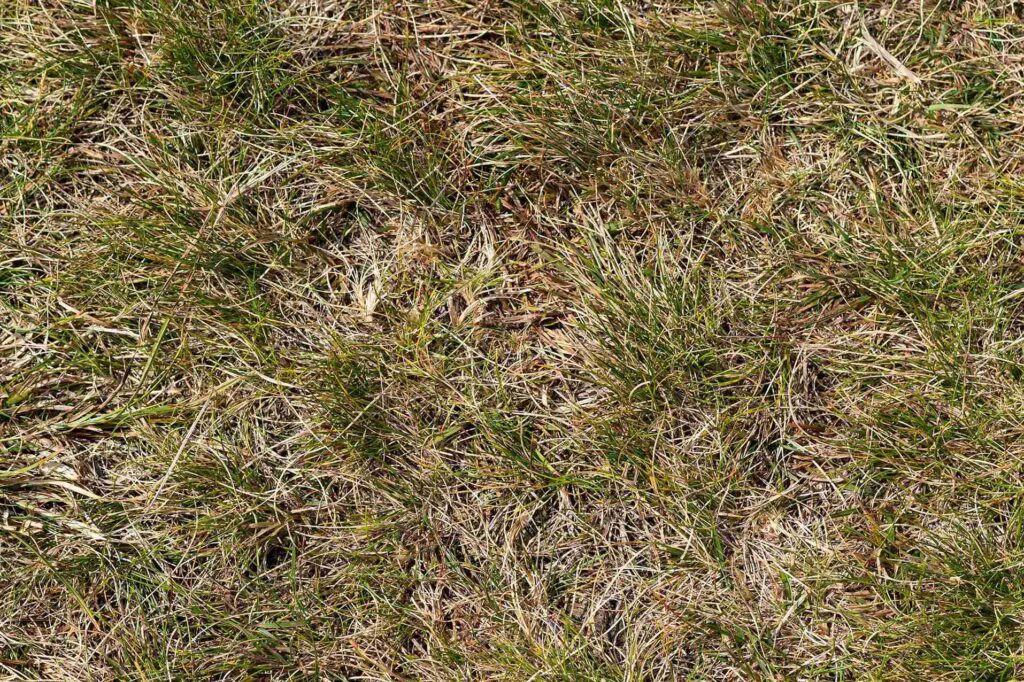
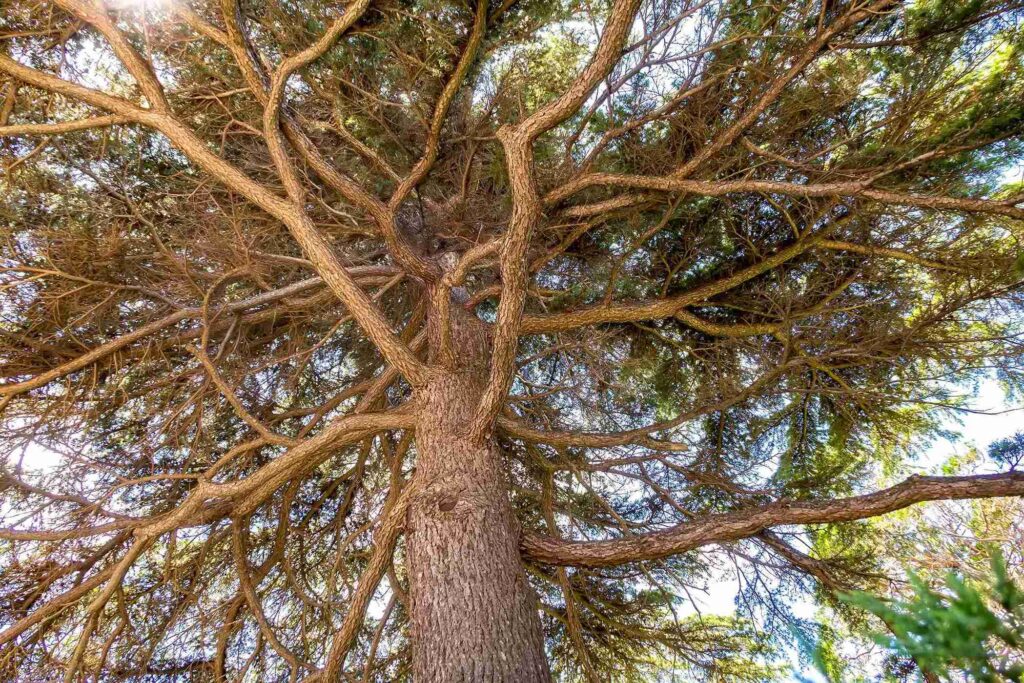
2,4-D is designed to target broadleaf plants. Trees are technically broadleaf plants too (unless we’re talking pines and other conifers), which means they’re not totally safe from it.
Still, it doesn’t usually take out big, mature trees with just a little overspray.
What it does is stress them out. Think curled leaves, yellow patches, maybe even some branch dieback if they get a heavy dose.
Small trees and saplings are much more at risk because their root systems and bark aren’t as tough. If a young tree gets sprayed directly or the roots suck up contaminated soil, things can go south pretty fast.
Also Read: Will Gas Kill Grass?
When Can 2,4-D Kill A Tree?
It doesn’t take much in the wrong conditions for 2,4-D to cause real harm.
The risk goes up depending on how it’s applied, the age of the tree, and how close the roots or leaves are to the treatment area. Young or shallow-rooted trees are especially vulnerable.
Here are the main situations to watch out for:
- Direct spray lands on leaves or bark
- Roots absorbing chemical from treated soil
- Heavy drift on windy days reaches branches
- Repeated exposure
Small or newly planted trees take a stronger hit. Mature, deep-rooted trees usually shrug off light exposure, but constant soaking or intentional application can bring even a big tree down.
Signs Of Tree Damage From 2,4-D
If you’re not sure if your trees have been exposed, the symptoms are usually easy to spot.
The leaves tell the story first.They might start curling in odd shapes or twisting around. You’ll sometimes see cupping, yellow streaks, or scorched-looking edges.
Plus, growth slows down. Branches can look weaker, and in bad cases, sections of the tree start dying back.
Also Read: Will Cayenne Pepper Kill Grass?
It doesn’t usually kill an older tree overnight. Instead, the damage adds up over seasons, leaving the tree looking thinner, sicker, and more stressed year after year.
Young trees can go downhill faster, sometimes collapsing after just one heavy spray.
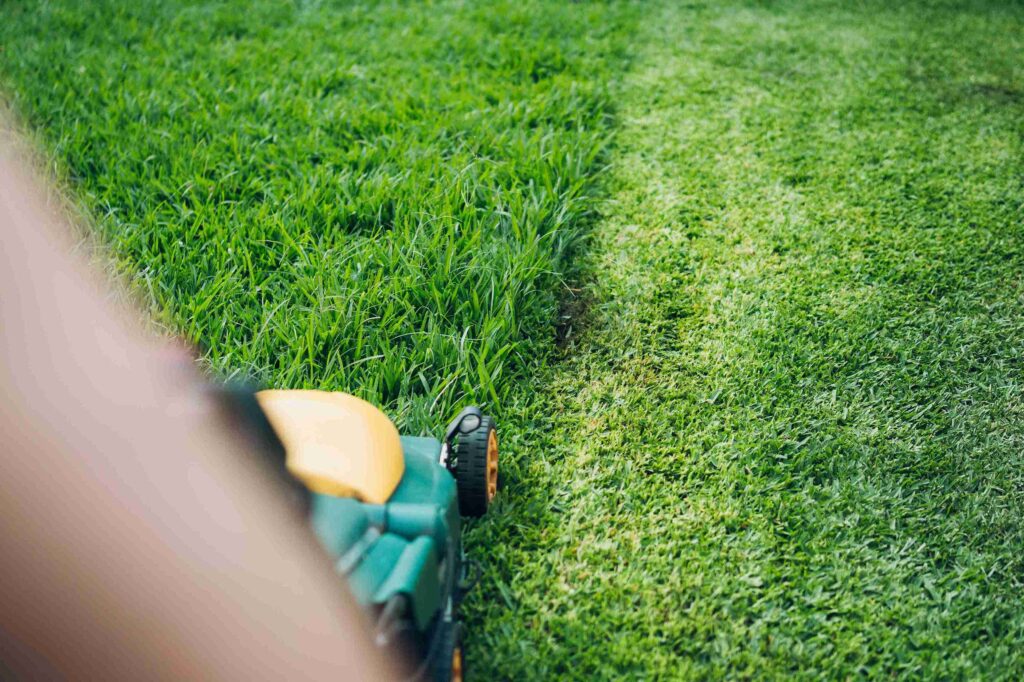
How To Avoid Harming Trees
The good news? You don’t have to give up on 2,4-D completely if you’re careful. Most of the damage happens from sloppy spraying or not paying attention to the weather.
Here’s what we recommend:
- Spray on calm days so drift doesn’t blow onto nearby branches.
- Keep a safe distance when spraying weeds close to tree trunks.
- Avoid soaking the soil right around the base of your trees.
And if you’re treating a big area, think about using lower concentrations instead of going heavy-handed.
Little adjustments like these make a huge difference. You get the weed control you want without putting your trees on the chopping block.
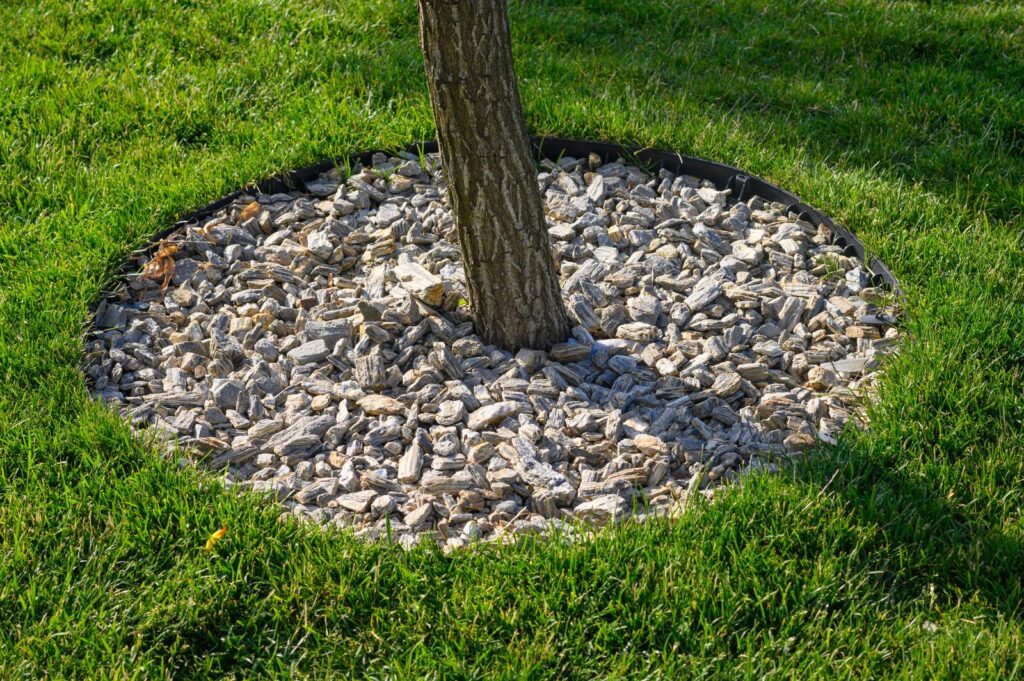
Also Read: Can I Put River Rocks Around Trees?
Safer Weed Control Options Near Trees
If the idea of even maybe harming your trees stresses you out, there are other ways to keep weeds at bay around them.
Some are old-school, some involve different products, but all are gentler on your trees:
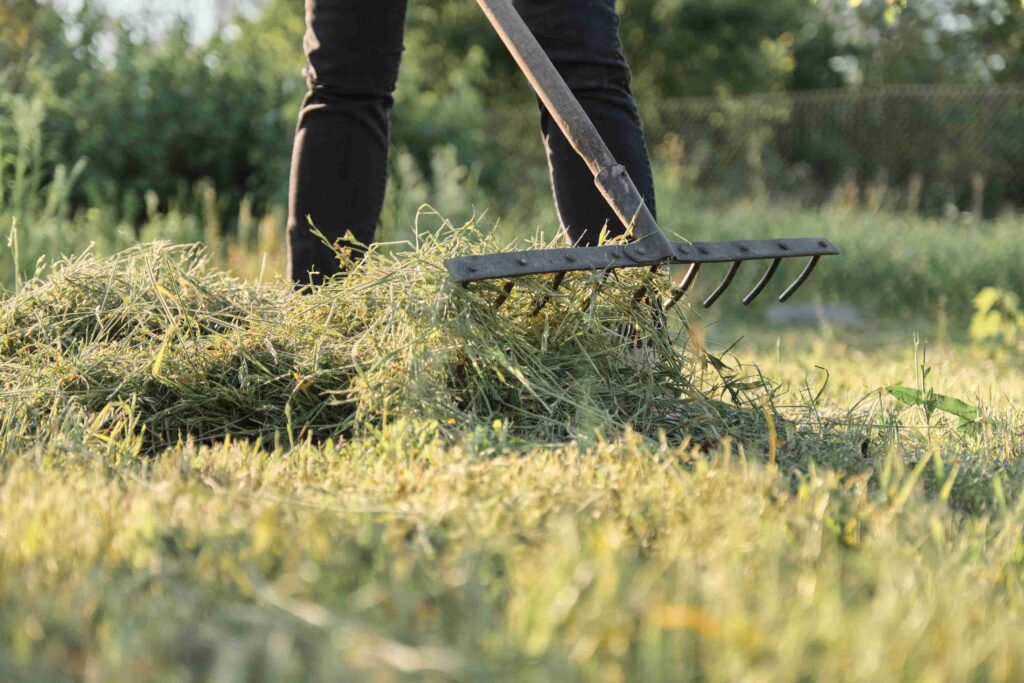
#1 Mulch And Hand-Pulling
Mulch is basically your first line of defense against weeds around trees.
A good, thick layer (two to four inches) blocks sunlight, which stops a lot of weeds from ever sprouting. It also keeps the soil moist and cool, which your tree roots will love.
If a few weeds still sneak through, hand-pulling them is the safest option you’ve got. No chemicals, no risk to your trees, just a bit of elbow grease.
The trick is to pull them early before they get big and stubborn.
Plus, pulling weeds every so often is a great excuse to step outside and check on your trees.
#2 Flexidor
Flexidor is a herbicide that people often turn to when they want a safer choice near trees.
It works mainly as a pre-emergent, which means it targets weeds before they sprout up and take over. That makes it especially handy in areas where you don’t want to be constantly bending down to yank weeds out.
It’s a lot less harsh on trees compared to 2,4-D, and it’s effective against a wide range of broadleaf weeds.
Just remember, like any product, it still needs to be applied carefully and according to the label. Used right, it gives you weed control without putting your trees on the line.
#3 Propyz
Propyz, or Propyzamide, is another pre-emergent herbicide that’s considered more tree-friendly.
It’s often used in orchards and landscapes because it helps manage tough weeds without stressing nearby trees.
One of its strengths is that it works well in cooler conditions, which can make it useful when other products fall short. Since it doesn’t tend to move much in the soil, the risk of it leaching into tree roots is lower.
That makes it a safer choice if you’re working close to the trunk or in areas where the roots are shallow.
Think of it as a quieter, steadier option for long-term weed control.
Bottom Line
2,4-D can kill trees, but it only happens if it’s used carelessly or repeatedly around them.
A one-off bit of spray drift on a big, established oak probably won’t bring it down, but young or shallow-rooted trees are much more sensitive.
If you love your trees and don’t want to take the chance, go with safer alternatives like mulch, hand-pulling, or different herbicides designed with tree safety in mind.
If you do stick with 2,4-D, just be mindful about how and where you spray.