Call Richmond!

(804) 220-0440

Call Roanoke!

(540) 420-0402

Author: Southern Sun Landscaping

Will 2,4-D Kill Trees? (Solved)

If you’ve ever battled weeds in your yard, you’ve probably heard of 2,4-D. 

It’s one of those go-to herbicides that promises to knock out dandelions, clover, and all the other broadleaf troublemakers without messing up your grass. Sounds perfect, right? 

But then you glance at your trees and start to wonder: is this stuff safe for them? 

Could spraying weeds end up hurting the very trees you’re trying to protect?

That’s exactly what we’re diving into here. We’ll explain if 2,4-D can kill trees, when it can cause damage to trees, and what signs to watch for. Plus, we’ll go over a few safer options you can use if you don’t want to take any chances.

Can 2,4-D Kill Trees?

Yes, 2,4-D has the potential to kill trees. But it usually takes a strong, direct hit or repeated exposure.

2,4-D is designed to target broadleaf plants. Trees are technically broadleaf plants too (unless we’re talking pines and other conifers), which means they’re not totally safe from it. 

Still, it doesn’t usually take out big, mature trees with just a little overspray. 

What it does is stress them out. Think curled leaves, yellow patches, maybe even some branch dieback if they get a heavy dose. 

Small trees and saplings are much more at risk because their root systems and bark aren’t as tough. If a young tree gets sprayed directly or the roots suck up contaminated soil, things can go south pretty fast.

Can 2,4-D Kill Trees

Also Read: Will Gas Kill Grass?

When Can 2,4-D Kill A Tree?

It doesn’t take much in the wrong conditions for 2,4-D to cause real harm. 

The risk goes up depending on how it’s applied, the age of the tree, and how close the roots or leaves are to the treatment area. Young or shallow-rooted trees are especially vulnerable. 

Here are the main situations to watch out for:

  • Direct spray lands on leaves or bark
  • Roots absorbing chemical from treated soil
  • Heavy drift on windy days reaches branches
  • Repeated exposure 

Small or newly planted trees take a stronger hit. Mature, deep-rooted trees usually shrug off light exposure, but constant soaking or intentional application can bring even a big tree down.

Signs Of Tree Damage From 2,4-D

If you’re not sure if your trees have been exposed, the symptoms are usually easy to spot. 

The leaves tell the story first.They might start curling in odd shapes or twisting around. You’ll sometimes see cupping, yellow streaks, or scorched-looking edges. 

Plus, growth slows down. Branches can look weaker, and in bad cases, sections of the tree start dying back.

Also Read: Will Cayenne Pepper Kill Grass?

It doesn’t usually kill an older tree overnight. Instead, the damage adds up over seasons, leaving the tree looking thinner, sicker, and more stressed year after year. 

Young trees can go downhill faster, sometimes collapsing after just one heavy spray.

How To Avoid Harming Trees

The good news? You don’t have to give up on 2,4-D completely if you’re careful. Most of the damage happens from sloppy spraying or not paying attention to the weather.

Here’s what we recommend:

  1. Spray on calm days so drift doesn’t blow onto nearby branches. 
  2. Keep a safe distance when spraying weeds close to tree trunks. 
  3. Avoid soaking the soil right around the base of your trees. 

And if you’re treating a big area, think about using lower concentrations instead of going heavy-handed.

Little adjustments like these make a huge difference. You get the weed control you want without putting your trees on the chopping block.

Also Read: Can I Put River Rocks Around Trees?

Safer Weed Control Options Near Trees

If the idea of even maybe harming your trees stresses you out, there are other ways to keep weeds at bay around them. 

Will 2,4-D Kill Trees

Some are old-school, some involve different products, but all are gentler on your trees:

#1 Mulch And Hand-Pulling

Mulch is basically your first line of defense against weeds around trees. 

A good, thick layer (two to four inches) blocks sunlight, which stops a lot of weeds from ever sprouting. It also keeps the soil moist and cool, which your tree roots will love. 
If a few weeds still sneak through, hand-pulling them is the safest option you’ve got. No chemicals, no risk to your trees, just a bit of elbow grease. 

The trick is to pull them early before they get big and stubborn. 

Plus, pulling weeds every so often is a great excuse to step outside and check on your trees.

#2 Flexidor

Flexidor is a herbicide that people often turn to when they want a safer choice near trees. 

It works mainly as a pre-emergent, which means it targets weeds before they sprout up and take over. That makes it especially handy in areas where you don’t want to be constantly bending down to yank weeds out. 

It’s a lot less harsh on trees compared to 2,4-D, and it’s effective against a wide range of broadleaf weeds. 

Just remember, like any product, it still needs to be applied carefully and according to the label. Used right, it gives you weed control without putting your trees on the line.

#3 Propyz

Propyz, or Propyzamide, is another pre-emergent herbicide that’s considered more tree-friendly. 

It’s often used in orchards and landscapes because it helps manage tough weeds without stressing nearby trees. 

One of its strengths is that it works well in cooler conditions, which can make it useful when other products fall short. Since it doesn’t tend to move much in the soil, the risk of it leaching into tree roots is lower. 

That makes it a safer choice if you’re working close to the trunk or in areas where the roots are shallow. 

Think of it as a quieter, steadier option for long-term weed control.

Bottom Line

2,4-D can kill trees, but it only happens if it’s used carelessly or repeatedly around them. 

A one-off bit of spray drift on a big, established oak probably won’t bring it down, but young or shallow-rooted trees are much more sensitive.

If you love your trees and don’t want to take the chance, go with safer alternatives like mulch, hand-pulling, or different herbicides designed with tree safety in mind. 

If you do stick with 2,4-D, just be mindful about how and where you spray.

Can You Use Garden Soil For Grass? (Solved)

You’ve got a bag of garden soil sitting in the shed and a patchy lawn begging for some love. 

The thought pops up: can I just use this soil for grass? It feels like a quick win, right? Grass is a plant, soil is soil, so it should work. But the truth is a little trickier. 

Garden soil can help in some cases, but it’s not always the smoothest path to that lush, green carpet you’re hoping for.

In this post, we’ll shed some light on if you can use garden soil for grass, so you’ll know exactly what to expect before dumping bags of garden soil all over your yard.

Can You Use Garden Soil For Grass?

Yes, you can use garden soil for grass, but it’s not always the best choice. 

Garden soil is designed for flower beds or vegetable plots, which means it’s often heavier, more compact, and holds moisture a little differently than the average patch of grass likes. 

Grass roots need air and good drainage to spread and grow deep, and if the soil stays soggy for too long, the roots can get choked out.

That being said, garden soil isn’t useless. If it’s all you have on hand, or you only need to patch up a small bare spot, it can do the trick. You just need to manage your expectations and be ready to tweak things a little.

Garden Soil For Grass

Also Read: Can You Use Miracle-Gro On Grass?

Pros And Cons Of Using Garden Soil For Grass

Like most things, using garden soil for grass comes with its ups and downs. Some parts make it a decent choice, while others can make your lawn more difficult to maintain.

Let’s break it down:

ProsCons
Nutrient-rich, which can help new grass seedlings sprout quicklyCan be too dense and heavy, making drainage a problem
Easy to find and cheaper if you already have bags in the shedHolds water longer, which might cause shallow or weak root growth
Good for short-term use in small areasMay encourage weeds or even bring in unwanted seeds
Not always balanced for the pH levels grass prefers

Garden soil isn’t “bad,” it’s just not always the most lawn-friendly option without some adjustments.

How To Improve Garden Soil For Grass

You can turn garden soil into something great for growing grass with a few tweaks. 

You basically just need to fix issues like poor drainage and nutrient imbalances to create a better environment for your lawn. 

Here are some practical steps to upgrade your garden soil for grass:

  • Mix in sand or screened topsoil to improve drainage.
  • Add compost to balance nutrients and improve soil texture.
  • Test soil pH and aim for 6 to 7, using lime to raise it or sulfur to lower it.

Basically, don’t just dump garden soil on the ground and expect a golf-course-worthy lawn. Give it a little upgrade, and you’ll be setting yourself up for a much better outcome.

Also Read: Alternatives To Straw For Grass Seed

How To Use Garden Soil On Grass

If you want to actually put down garden soil and grow some healthy grass, here’s what to do:

#1 Test Your Soil.

Before you rush to spread seed, take a minute to understand what’s going on under your feet. 

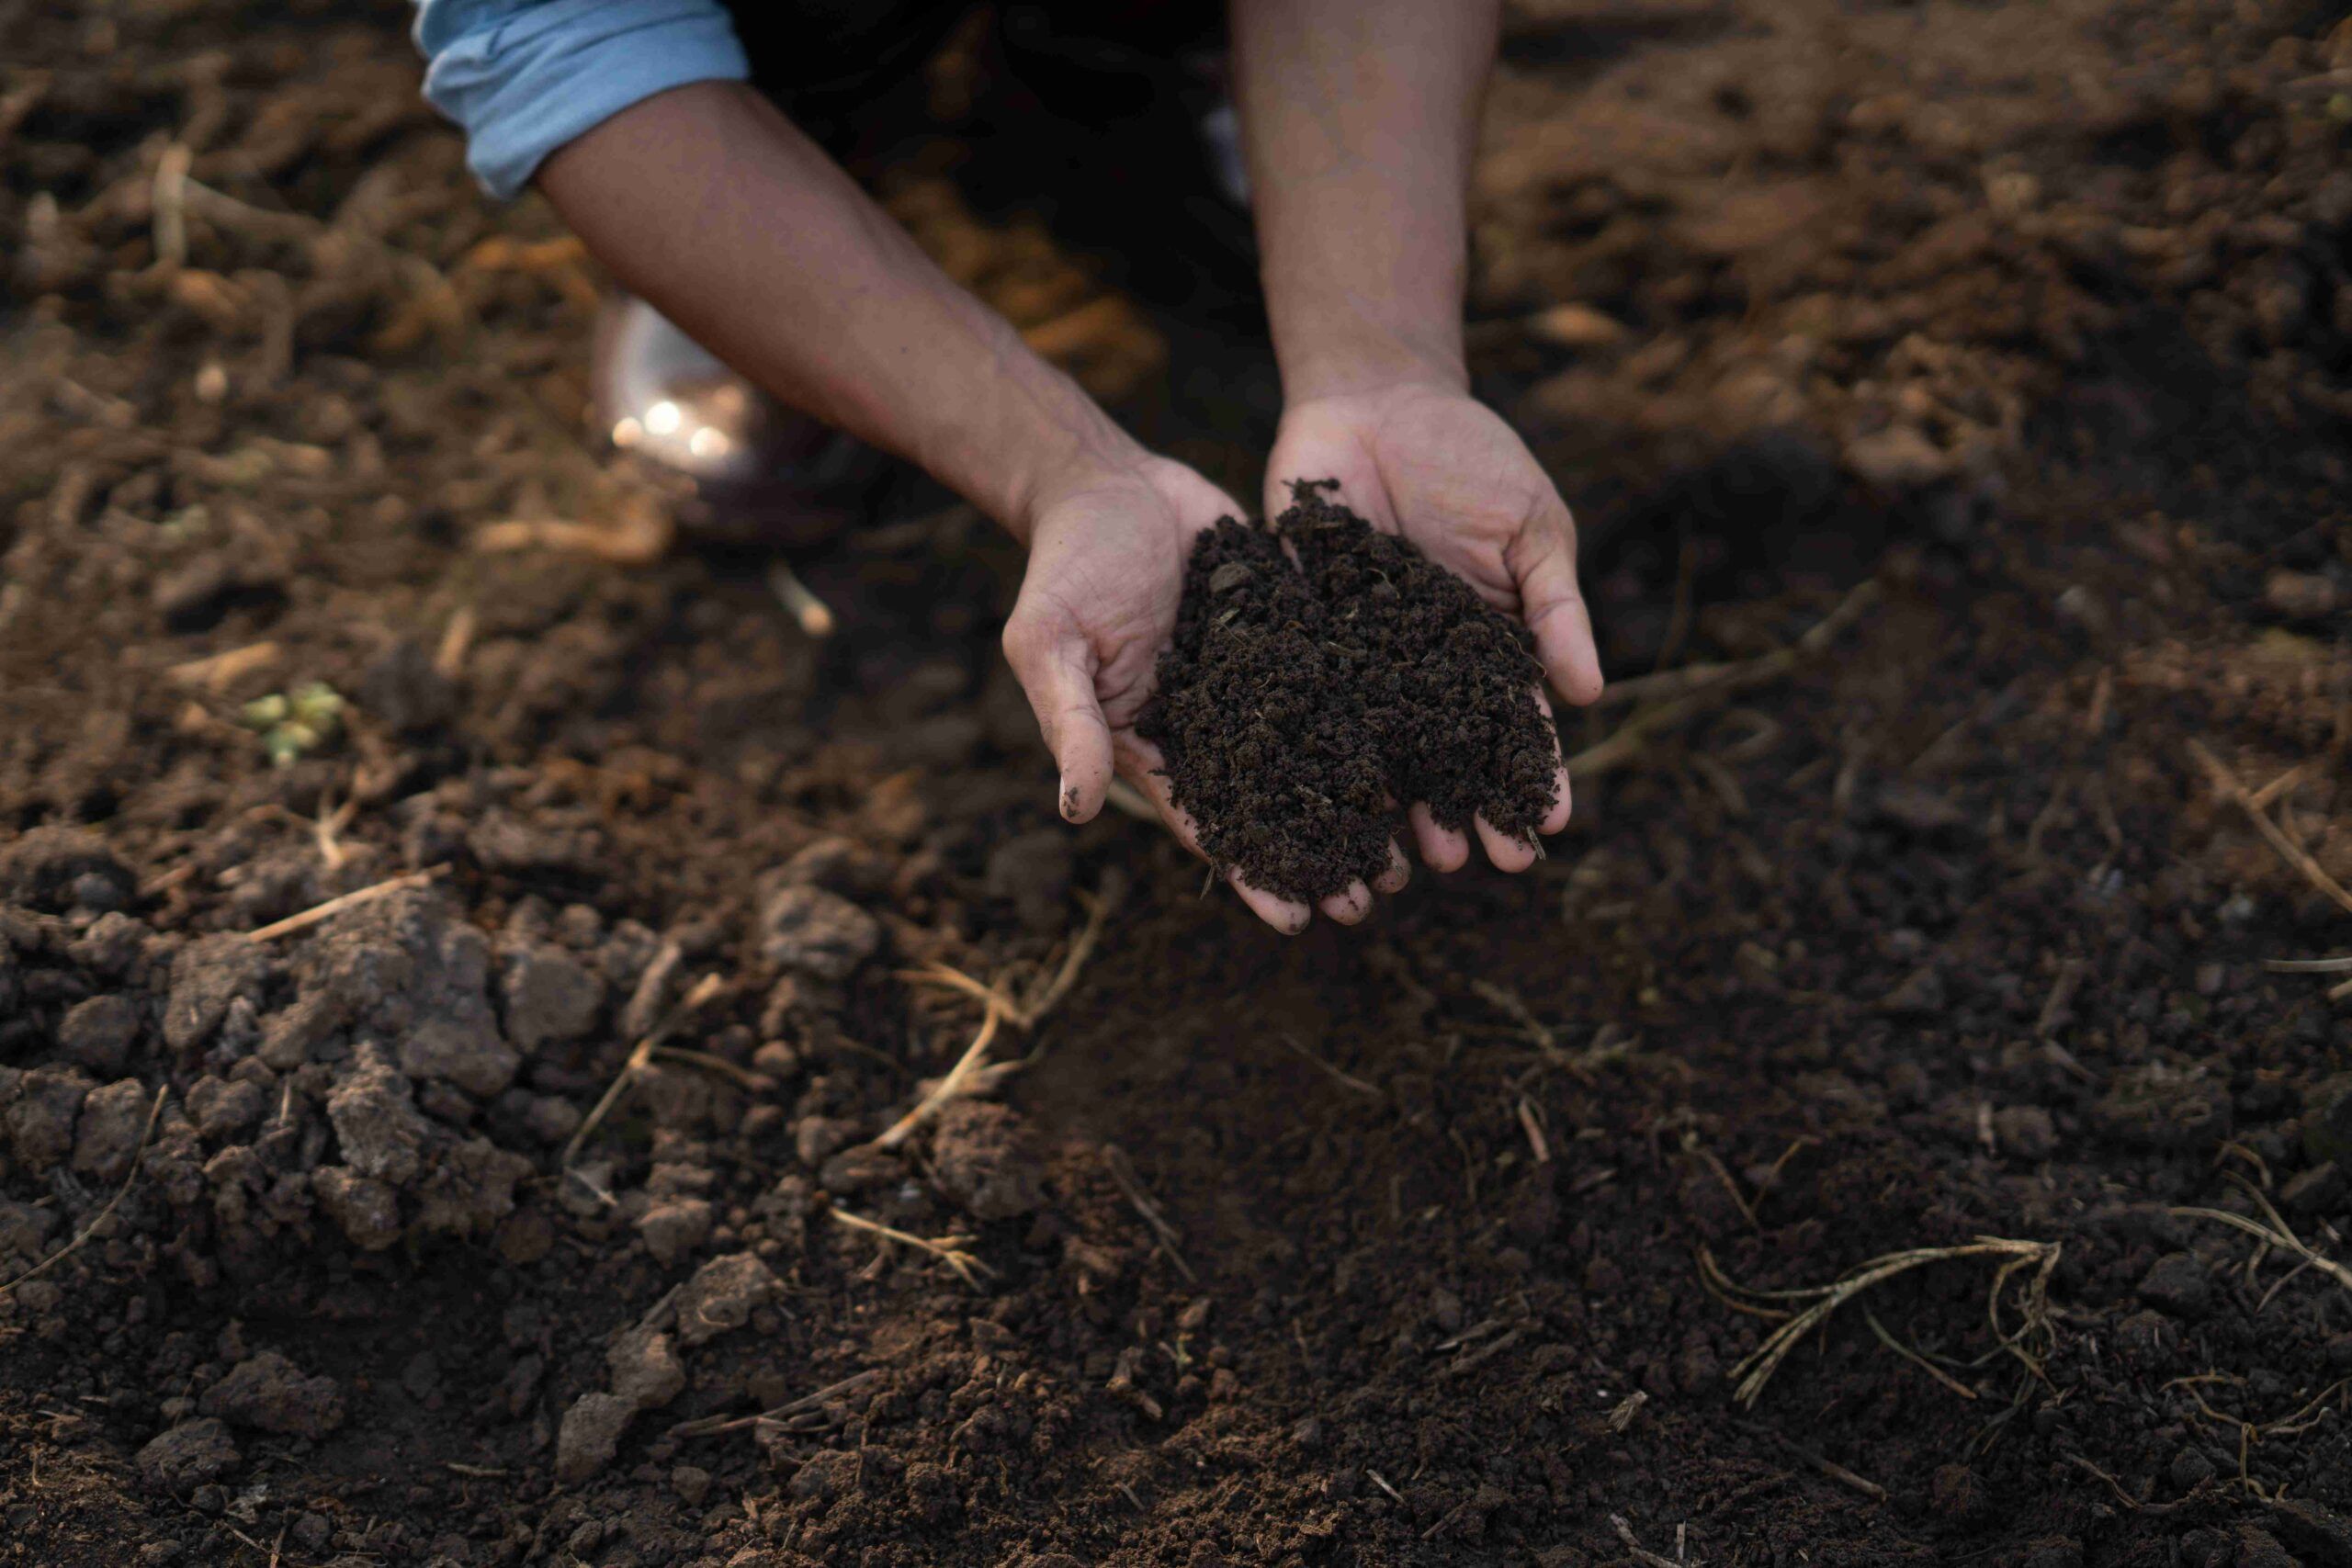
Testing your soil gives you a clear picture of its pH, nutrient levels, and texture. 

Grass usually likes a slightly acidic to neutral pH, around 6–7. If your soil is way off that mark, your grass will struggle no matter how much you water or fertilize. 

A simple DIY test kit from the garden center should work.

OR you can send a sample off for a more detailed report, but it can be expensive.

The results will tell you if you need to add lime, sulfur, or even just a bit of compost to balance things out.

#2 Remove Weeds And Debris.

This part isn’t glamorous, but it’s important. 

Weeds compete with grass for light, water, and nutrients, and they almost always win if you give them the chance. Clearing them out before you start ensures your seeds won’t have to battle from day one. 

While you’re at it, remove rocks, sticks, or any old roots left behind. Think of it as giving your new grass a clean, blank canvas. 

It also makes the soil easier to rake and level later on.

#3 Mix Garden Soil With Topsoil/Compost

Garden soil on its own is often too dense and can suffocate grass roots. 

Mixing it with topsoil lightens the texture and boosts drainage, while compost adds a healthy dose of organic matter that improves structure and feeds the soil naturally. 

How To Use Garden Soil On Grass

A one-third mix of each is usually a good balance, but you don’t need to measure with a kitchen scale – just aim for roughly even amounts. 

This blend gives you a loose, rich medium that grass roots can actually dig into instead of struggling to spread.

#4 Level And Rake For Even Surface

After laying down your soil mix, take the time to level it out. 

A garden rake works well for breaking up clumps and spreading soil evenly. Try to fill in low spots while gently smoothing down high ones. 

This isn’t just about looks – an even surface helps water soak in consistently and prevents puddles that can drown young roots. Plus, it makes mowing way easier down the road. 

Think of it as setting the stage for a smooth, healthy carpet of grass.

Also Read: Spiky Balls In Grass

#5 Seed And Water Properly

Scatter the seed evenly across the soil. 

Don’t just dump handfuls in one spot; a spreader makes it easy to get good coverage. 

Once the seed is down, lightly rake over it so some seeds are tucked just under the surface while others stay near the top. 

Then comes watering. You don’t want to blast the soil with a heavy stream. Gentle, steady moisture is the goal. Keep the top layer of soil damp while the seeds germinate, which usually takes about a week or two depending on the type of grass. 
Once the seedlings are up, stick with a regular watering schedule to help them establish strong, deep roots.

Bottom Line

You can use garden soil for grass, but it’s not the most smoothest option. Garden soil by itself can be too heavy, too wet, and sometimes too weed-friendly for a lush, long-lasting lawn. 

The good news is that you can fix those problems with a little mixing and preparation.

If you’re patching a small area, garden soil will probably get the job done. 

But if you’re starting a whole new lawn, investing in proper topsoil or lawn soil will save you time and effort in the long run. 

Can You Use Miracle-Gro On Grass? (Solved)

If you’ve ever stood in your yard staring at a patchy lawn, you’ve probably wondered if a little Miracle-Gro could save the day. After all, it makes your houseplants explode with growth and your flowers look like something out of a magazine. So, why not grass? 

The short answer is yes, you can use Miracle-Gro on grass. But there’s a catch – it depends on the type you’re using and how you apply it.

In this post, we’ll show you how to use Miracle-Gro on grass.

Can You Use Regular Miracle-Gro On Grass?

The all-purpose Miracle-Gro you find in those bright yellow boxes isn’t made for grass, but technically, it can work. Grass is just another plant, after all. 

The problem is that the nutrient balance in the all-purpose version isn’t really tailored to turf. 

Lawns usually need a little more nitrogen to keep that rich green color, and that’s not always the focus of the general plant food.

If you decide to use regular Miracle-Gro on your grass, be careful with how strong you mix it. Applying it straight or too heavy can burn your lawn, leaving behind crunchy yellow patches. 

That’s why it’s better to dilute it well with water and spread it evenly. 

Miracle-Gro Lawn Products Made For Grass

Also Read: Will Lime Kill New Grass Seed?

If you treat it like you would a delicate houseplant, your grass should do fine. Still, while it can work in a pinch, there’s a better way.

Miracle-Gro Lawn Products Made For Grass

Miracle-Gro knows people want lush lawns, so they’ve made fertilizers just for grass. 

These products have the nutrients tuned to what turf really needs. 

Their Water Soluble Lawn Food hooks right up to your hose and sprays evenly across your yard. It’s easy, quick, and pretty much foolproof. They’ve also got Lawn Food Spikes you stick into the soil, which release nutrients slowly over time. 

That’s more of a “set it and forget it” option.

Using lawn-specific products takes the guesswork out. You don’t have to stress about burning the grass or giving it the wrong balance of nutrients. 

You just feed it, water it in, and let the lawn do its thing.

How To Apply Miracle-Gro To Grass

Applying Miracle-Gro is easy, but if you rush it, you risk wasting product or damaging the lawn. 

Here’s a simple breakdown that works for both the lawn-specific Miracle-Gro and the regular all-purpose version if that’s all you’ve got:

#1 Test Your Soil (Optional But Recommended)

A lot of people skip this step, but it can save you money and frustration. 

Grass can only use what it actually needs, so if the soil is already loaded with certain nutrients, piling on more won’t help. In fact, it can do the opposite and cause growth issues. 

Testing gives you a clear snapshot of pH levels and nutrient balance

That way, you know if Miracle-Gro is a good fit or if your lawn would do better with a different product.

#2 Check The Weather

Weather makes or breaks fertilizer day. 

If you fertilize before a storm, most of those nutrients will wash straight off your yard and down the drain. On the other hand, blazing hot sun can magnify the risk of burn. 

The sweet spot is a mild day when rain isn’t in the immediate forecast. 

Overcast skies are actually perfect because they give the grass a little break from stress. 

Early morning or evening is also smart since the sun isn’t beating down and the soil can soak things in without drying too fast.

#3 Mow And Clear The Lawn

Cutting the grass before fertilizing helps the nutrients reach the soil instead of sitting on tall blades.

It doesn’t have to be a super short cut – just a clean trim. 

Once you mow, take a few minutes to clear away clumps, leaves, or sticks. Uneven coverage happens when fertilizer hits obstacles, so this simple cleanup step makes a big difference. 

A smooth, even surface helps the product spread out like it should.

How To Apply Miracle-Gro To Grass

Also Read: Too Much Lime On Lawn

#4 Apply The Fertilizer

This is where most of the magic happens. 

If you’re using the Miracle-Gro Lawn Food sprayer, attach it to your hose and walk in steady lines across the yard. Try not to overlap too much or you’ll double-feed certain spots. 

If you’re working with the all-purpose mix, make sure it’s fully diluted before applying. 

The more even the application, the better the results. And don’t rush! Slow and steady gives you cleaner coverage. Once you’re done, water the lawn thoroughly to push the nutrients down where the roots can reach them.
#5 Follow The Recommended Schedule

Feeding your grass once is like eating one good meal. It helps, but it won’t keep you full forever. 

To see long-lasting results, you’ve got to keep up with a schedule. Miracle-Gro suggests reapplying every 4 to 6 weeks during the growing season. 

That consistency builds up strong, healthy turf instead of a quick green-up that fades. 

Resist the urge to feed too often, though. Overdoing it won’t speed up growth and it just risks damaging the lawn.

Benefits Of Using Miracle-Gro On Grass

The results of using Miracle-Gro on grass can be pretty impressive. 

Miracle-Gro gives grass a quick shot of nutrients, so you’ll often see greener blades within days. With regular use, lawns get thicker and fill in bare spots. 

That means fewer weeds sneaking through, which is always a win.

Another perk is convenience. The hose attachment makes it simple to feed large areas fast. Even if you’re not into yard work, it’s easy enough that you won’t dread it. 

Also Read: Liquid or Granular Fertilizer

Plus, because it’s water-soluble, the nutrients are absorbed quickly, so your grass responds faster compared to some slow-release fertilizers.

Things To Watch Out For

Miracle-Gro works great on grass when it’s applied properly, but a few mistakes can undo your effort and leave the lawn worse off than when you started. 

Keep these in mind so your grass gets all the good without the problems:

  • Over-fertilizing can burn the grass and leave ugly brown patches.
  • Applying before heavy rain will wash nutrients away and waste product.
  • Using too strong a mix of the all-purpose Miracle-Gro can damage turf.
  • Fertilizer won’t solve bigger issues like compacted soil or poor drainage.
  • Runoff from over-application isn’t good for nearby plants or waterways.

Bottom Line

Yes, you can use Miracle-Gro on grass. The all-purpose Miracle-Gro will work if you’re careful, but the lawn-specific products are way easier and give better results. 

You just need to apply it the right way – mild weather, even coverage, watering it in, and keeping a regular schedule.

If you stay consistent and don’t go overboard, Miracle-Gro can help you get that lush, green lawn that looks like it belongs in a magazine. Your grass will thank you with thicker growth, richer color, and a yard you’ll actually want to walk barefoot on.

6 Alternatives To Straw For Grass Seed

So, you’re planting new grass seed and trying to figure out what to cover it with? 

Most people grab a bale of straw and call it a day. Straw can be messy, full of weed seeds, and honestly, not always easy to work with. 

The good news is that straw isn’t your only option.

If you’re looking for other ways to protect your grass seed, you’re in the right place. 

In this post, we’ll go over some awesome alternatives to straw for grass seed that work just as well (and sometimes even better).

#1. Grass Seed Mulch Blankets

Grass seed mulch blankets are probably the best alternative to straw for grass seed. It’s a low-maintenance and very beginner-friendly option. 

These blankets (also called erosion control mats) are pre-made mats that you roll out right over the top of your grass seed. 

Done and done.

They’re made from stuff like coconut fiber, straw, or even biodegradable paper. 

The cool thing is that they stay in place. No blowing around. No birds stealing your seed. And they break down over time, so you don’t need to clean anything up later.

Also Read: How to Refresh Your Yard This Season

If you’re working on a slope or somewhere prone to heavy rain, these mats are a total win. They hold everything together and keep your seed from washing away.

#2. Compost

Compost is one of the most underrated covers for grass seed. 

A thin layer of screened compost, about a quarter inch thick, works wonders. It holds in moisture, adds nutrients, and keeps the soil temperature steady. That means your seeds get a healthy start right from the beginning.

Straw Alternatives For Grass Seed

The trick here is not to overdo it. Too much compost can smother your seed. Just enough to lightly cover is perfect. 

You’ll also appreciate that compost improves your soil while the grass takes root.

And bonus: it doesn’t blow around like straw, so you don’t have to chase bits of it across the yard every time the wind kicks up.

#3. Peat Moss

Peat moss is another good alternative to straw for grass seed. 

It’s light, fluffy, and excellent at holding moisture. If you’ve ever had trouble keeping your seed damp during germination, peat moss can help solve that problem. 

It also creates a protective layer that keeps birds from snacking on your seed.

That said, it can be a little pricey if you’re doing a large area. It makes more sense for smaller patches or touch-ups. Still, if you’re dealing with bare spots or just don’t want to deal with straw, peat moss is a solid option. 

Plus, it gives your lawn a cleaner look compared to straw scattered everywhere.

Also Read: Peat Moss For Bare Spots In Lawn

#4. Hydroseeding Mulch

Hydroseeding is that green spray you sometimes see on big commercial sites or along highways. 

It’s a mix of seed, water, fertilizer, and mulch fibers all blended together and sprayed onto the soil. The fibers lock the seed in place, the water keeps it moist, and the fertilizer gives it a boost.

For homeowners, this isn’t always a DIY option unless you’re renting equipment. But if you’re planting a large yard and want even coverage with minimal hassle, hiring a pro to hydroseed might be worth it. 

It’s quick, effective, and delivers fast results.

The downside is the cost, but the upside is consistency. You don’t have to worry about uneven spreading or patchy growth. Everything goes down evenly in one go.

#5. Grass Clippings

Sometimes the simplest solutions are right in your backyard. 

Grass clippings can be used to cover seed as long as you’re careful with the amount. Spread them out in a very thin layer, almost like dusting the ground. 

The clippings help retain moisture and add a little organic matter as they break down.

Straw Substitute For Grass Seed

You must keep it light. If you pile clippings on thick, they’ll mat together, block sunlight, and suffocate the seed. Think of it more like a sprinkle than a blanket. 

Let them dry out a bit before spreading, too. That way, they won’t clump as easily.

Also make sure the clippings are dry and from a healthy lawn. You don’t want to introduce weeds or diseases into your fresh new lawn.

Also Read: Will Cayenne Pepper Kill Grass?

This method is basically free, so if you’re on a budget and don’t mind doing a little raking, grass clippings are awesome.

#6. Excelsior Mulch (Shredded Wood Fiber)

Excelsior mulch might not be as well-known as straw, but it’s a fantastic straw substitute. 

This mulch is made from shredded wood fiber (usually from aspen trees), and it’s surprisingly great for new grass seed. It’s lightweight, breathable, and clings to the ground even in wind or rain. 

You’ll usually find it in mats (kind of like those erosion control blankets) or loose-fill form. Both work well. And it breaks down over time, so you don’t have to worry about cleanup.

It’s especially useful on slopes, but honestly, it works just about anywhere.

Wrapping Up

You don’t have to stick with straw just because it’s the old-school way of doing things. There are tons of great alternatives that are cleaner, more effective, and sometimes even cheaper.

Here’s a quick recap:

  • Grass seed mulch blankets are neat and super beginner-friendly.
  • Compost adds nutrients while protecting your seed.
  • Peat moss is clean and holds moisture like a champ.
  • Hydroseeding mulch gives pro-level results if you want to go big.
  • Grass clippings are free but need to be used lightly.
  • Excelsior mulch is tough, eco-friendly, and low-fuss.

Each option has its own little perks, so it really depends on what you’re working with like your budget, area size, weather, and how much effort you want to put in.

FAQs

Do I Need Straw For Grass Seed?

No, you don’t have to use straw. The main purpose of covering grass seed is to hold in moisture, protect it from wind and birds, and help it stay in place. Straw works, but it’s not your only option. 

Compost, peat moss, mulch blankets, or even a light layer of grass clippings can all do the job just as well, sometimes better.

Can I Use Paper Mulch For Grass Seed?

Yes, paper mulch works great for grass seed. It’s usually made from shredded or recycled paper fibers, and it helps keep the seed moist and anchored in place. It’s also clean, biodegradable, and doesn’t carry weed seeds like straw sometimes does. 

Many erosion control mats and hydroseeding mixes actually use paper mulch for this reason.

Spiky Balls In Grass (Solved)

Ever walked barefoot in the grass and suddenly felt like you were stepping on little landmines? 

Yep, those spiky balls are no fun! These little troublemakers – often more painful than you’d like to admit – are a common problem for many homeowners.

The good news is that they’re actually pretty easy to get rid of once you know what they are.

In this post, I’ll shed some light on what those spiky balls in grass really are and, most importantly, how to get rid of them.

What Are Those Spiky Balls In Grass?

The spiky balls in your grass are called burrs.

They are seed pods that come from certain types of weeds.

Burrs are made to latch onto animals, shoes, or clothes, which helps the seeds spread. They’re not dangerous, but they sure hurt to step on, can mess up lawn equipment, and even take nutrients away from your grass.

What Are Those Spiky Balls In Grass

There are three common weeds that make these spiky balls in the US. These are:

  • Grass Burrs
  • Lawn Burweed
  • Burr Medic

Let’s take a quick look at each of these:

Also Read: Too Much Lime On Lawn

Grass Burrs (Cenchrus Echinatus)

These are the most common spiky balls in grass.

You’ve probably heard of these as “sandburs.” They love sandy or dry soil, especially in warmer places.They have thin, sprawling stems and spiky seed heads that start out green and turn brown as they mature.

Each burr holds a bunch of seeds inside a hard, thorny shell. 

Grass Burrs are tricky because their seeds can stay dormant for years in the soil, making them a recurring issue, especially in lawns with bad soil or inconsistent watering.

Lawn Burweed (Soliva Sessilis)

Also known as “spurweed,” this weed is a pain in early spring. 

It stays low to the ground, spreading out into dense mats with tiny fern-like leaves and flowers. Those flowers eventually turn into sharp burrs that you’ll definitely feel if you step on them. 

Burweed loves compacted soil and thrives in lawns that get too much water or are shaded. 

The burrs are hidden under the leaves, so most people don’t even realize it’s there until the burrs are already forming.

Burr Medic (Medicago Polymorpha)

Burr Medic, or “burr clover,” is a broadleaf weed with small yellow flowers and leaves that grow in threes. Its spiky seed pods coil up like tiny pine cones and latch onto anything that brushes against them, spreading the seeds. 

You’ll usually find it in disturbed soils, like newly seeded lawns or areas with patchy grass. 

While it can add some nitrogen to the soil, the burrs it leaves behind make it a bit of a nuisance in most lawns.

Also Read: Will gas kill grass?

How To Get Rid Of Spiky Balls In Grass

Now that you know what those spiky little balls are, let’s talk about how to deal with them.

Don’t worry, getting rid of these pesky burrs is not that complicated. Here are a few simple tips you can follow to reclaim your lawn:

#1 Mow Regularly

Mowing regularly is one of the simplest ways to control burr-producing weeds. 

These weeds thrive in unkempt, patchy lawns where they can grow without competition. Keeping your grass cut short stops them from maturing and producing those painful burrs. 

However, don’t mow too aggressively – cutting your grass too short can weaken it, making it easier for weeds to invade. 

A good rule of thumb is to mow at the recommended height for your grass type, keeping it strong enough to outcompete weeds.

Also, make sure to keep your mower blades sharp.

How To Get Rid Of Spiky Balls In Grass

#2 Use Pre-Emergent Herbicides

If you’re serious about getting ahead of the problem, pre-emergent herbicides are your friend. 

These products work by preventing the seeds of weeds from sprouting in the first place.

You’ll want to apply them in early spring, before those burr seeds have a chance to take root. 

Timing is everything—if you apply them too late, the seeds will already have sprouted, and you’ll need a different approach.

So check your local weather or soil temperature (55°F) to get it just right. This will give you a better shot at keeping your lawn burr-free.

Just be sure to follow the instructions carefully, as overuse can harm your lawn.

Remember – pre-emergents don’t kill existing weeds, and only stop new ones from growing.

#3 Spot Treat With Post-Emergent Herbicides

If the burrs are already growing in your yard, you’ll need a post-emergent herbicide to kill them. 

These are designed to target and kill weeds that have already sprouted and are growing. 

For broadleaf weeds like Burr Medic, products containing 2,4-D or dicamba are often effective. For Grass Burrs, herbicides with quinclorac usually work well.

Also Read: Will Cayenne Pepper Kill Grass?

You can apply them directly to the areas where the burrs are making an appearance.

Be sure to read the label carefully before you spray, because not all herbicides are safe for every type of grass. Some can damage your lawn if used incorrectly. Also, make sure to follow the instructions on the label—too much of a good thing can harm your grass.

#4 Manually Remove Small Patches

If you’ve only got a few small patches of burrs here and there, it might be easier to just pull them out by hand. 

This can be a little time-consuming, but it’s a good option if you’re dealing with a limited area. 

Just grab a good pair of gloves, pull out the weeds by hand, and toss them in the trash. Don’t leave them in your compost pile, or they might just spread again next season. 

Make sure to grab the whole plant too, roots and all.

Try to pull the weeds when they’re young and still easy to remove. If you wait too long and they’ve already gone to seed, you’re just giving those spiky balls more chances to spread.

#5 Improve Lawn Health

One of the most effective ways to stop burrs is by improving the overall health of your lawn. 

A lush, thick lawn can crowd out weeds and make it harder for those spiky burrs to grow. 

Start by making sure your lawn gets enough water, but not too much. Also Fertilize your lawn based on soil test results to make sure it gets all the nutrients it needs. And be sure to reseed your lawn if there are any bare spots.

A well-fed lawn is a strong lawn, and strong grass is better at fighting off weeds. 

Aeration can also help by allowing air, water, and nutrients to reach the roots more easily, you’ll have a healthier, happier lawn that’s harder for burrs to invade.

Bottom Line

Those spiky balls in grass are no joke, but with a little effort, you can get rid of them for good. 

It all starts with regular lawn care: mow, fertilize, and water your grass, and use pre- and post-emergent herbicides when necessary. 

So, take action, and say goodbye to the pain of stepping on spiky balls once and for all. 

Will Gas Kill Grass? (Yes – Explained)

We’ve all had a moment where we’re messing around with our lawnmower or maybe topping off the weed eater, and whoops – gas spills on grass.

Now you’re staring at the spot, wondering, “Is this bad? Did I just kill my grass?”

Unfortunately, the answer is yes, gas can kill grass. It can burn the blades, seep into the soil, and leave behind some ugly dead patches.

In this post, I’ll explain how gas kills grass, and what can you do to minimize the impact. 

I’ll also show you how to recover if the gas does end up killing your grass.

Can Gas Kill Grass?

Yes, gas can kill grass, and it doesn’t take much to do some serious damage.

Gasoline is full of harsh chemicals like hydrocarbons and additives that are toxic to plant life. When spilled on grass, it immediately begins to break down cell structures and causes the blades to dry out and turn yellow or brown.

But the real danger is what happens beneath the surface.

Also Read: Will Lime Kill New Grass Seed?

If the gas seeps into the soil, it creates a toxic environment that suffocates roots, and prevents them from taking in water and nutrients.

Plus, it can also break down beneficial microorganisms in the soil that help your grass grow. Without those microbes, the soil becomes less fertile.

The longer gas sits in the ground, the harder it is for grass to recover.

Can Gas Kill Grass

If it’s a small spill the grass might struggle but eventually recover, but a bigger one can leave behind dead patches that won’t grow back unless you clean up the contaminated soil and reseed or re-sod the area.

What To Do If You Spill Gas On Grass

If you do end up spilling gas on grass, you need to act quickly to minimize the damage. Here are some steps to help you get your lawn back on track:

#1 Absorb The Spill

First things first, you need to absorb the gasoline. 

The longer it sits there, the more it can seep into the soil and do damage. 

You can use a variety of materials to soak up the gas, such as cat litter, sand, or even sawdust. 

Spread a generous amount over the spill, and let it sit for a while. It’ll help soak up the liquid, and make it easier to clean up.

#2 Dispose Properly

Once you’ve absorbed the gasoline, you can’t just toss the materials in your regular trash. 

Gasoline-soaked items are considered hazardous waste, so they need to be disposed of properly. Check with your local waste management facility for the right way to dispose of it in your area.

Some places might even have special disposal sites for hazardous materials.

Also Read: Can I Put River Rocks Around Trees?

#3 Water The Area

After you’ve cleaned up the spill, give the area a good watering. 

You want to dilute any remaining gasoline in the soil and help wash it away. 

Be sure to water deeply, so the gasoline doesn’t just move around on the surface—it needs to go down into the ground and away from the roots. 

What To Do If You Spill Gas On Grass

Keep an eye on the area for a few days to make sure the grass starts bouncing back.

#4 Allow Time To Air Out

Gasoline has a strong odor, and that smell can stick around for a while. Letting the area air out is a good idea, so give it some time. 

If you’re able to, avoid walking on the grass until it starts to recover. 

Just let the soil breathe, and give your lawn time to work through the fumes.

How To Repair Lawn Damage From Gasoline

If the damage is already done and you’ve got dead spots on your lawn, don’t stress. You can still fix it! It’s going to take a little bit of effort, but it’s definitely doable.

Assess The Damage

First, take a good look at the area. 

Some spots might just be a little discolored, and other spots might be completely dead. 

If it’s a small area, you might not need to do much at all. But if the damage is more widespread, you’ll have to take a few extra steps.

Remove Dead Grass

Once you’ve figured out where the damage is, you can start cleaning things up. 

Remove any dead grass from the area. You can pull it up by hand or use a rake to get rid of it. 

If the gas spill was large, the grass might be beyond repair, so you’ll need to clear it away before you do anything else.

Also Read: Will Cayenne Pepper Kill Grass?

Aerate The Soil

Next, it’s time to aerate the soil. This helps loosen up compacted soil and gives the new grass seeds a better chance to take root. 

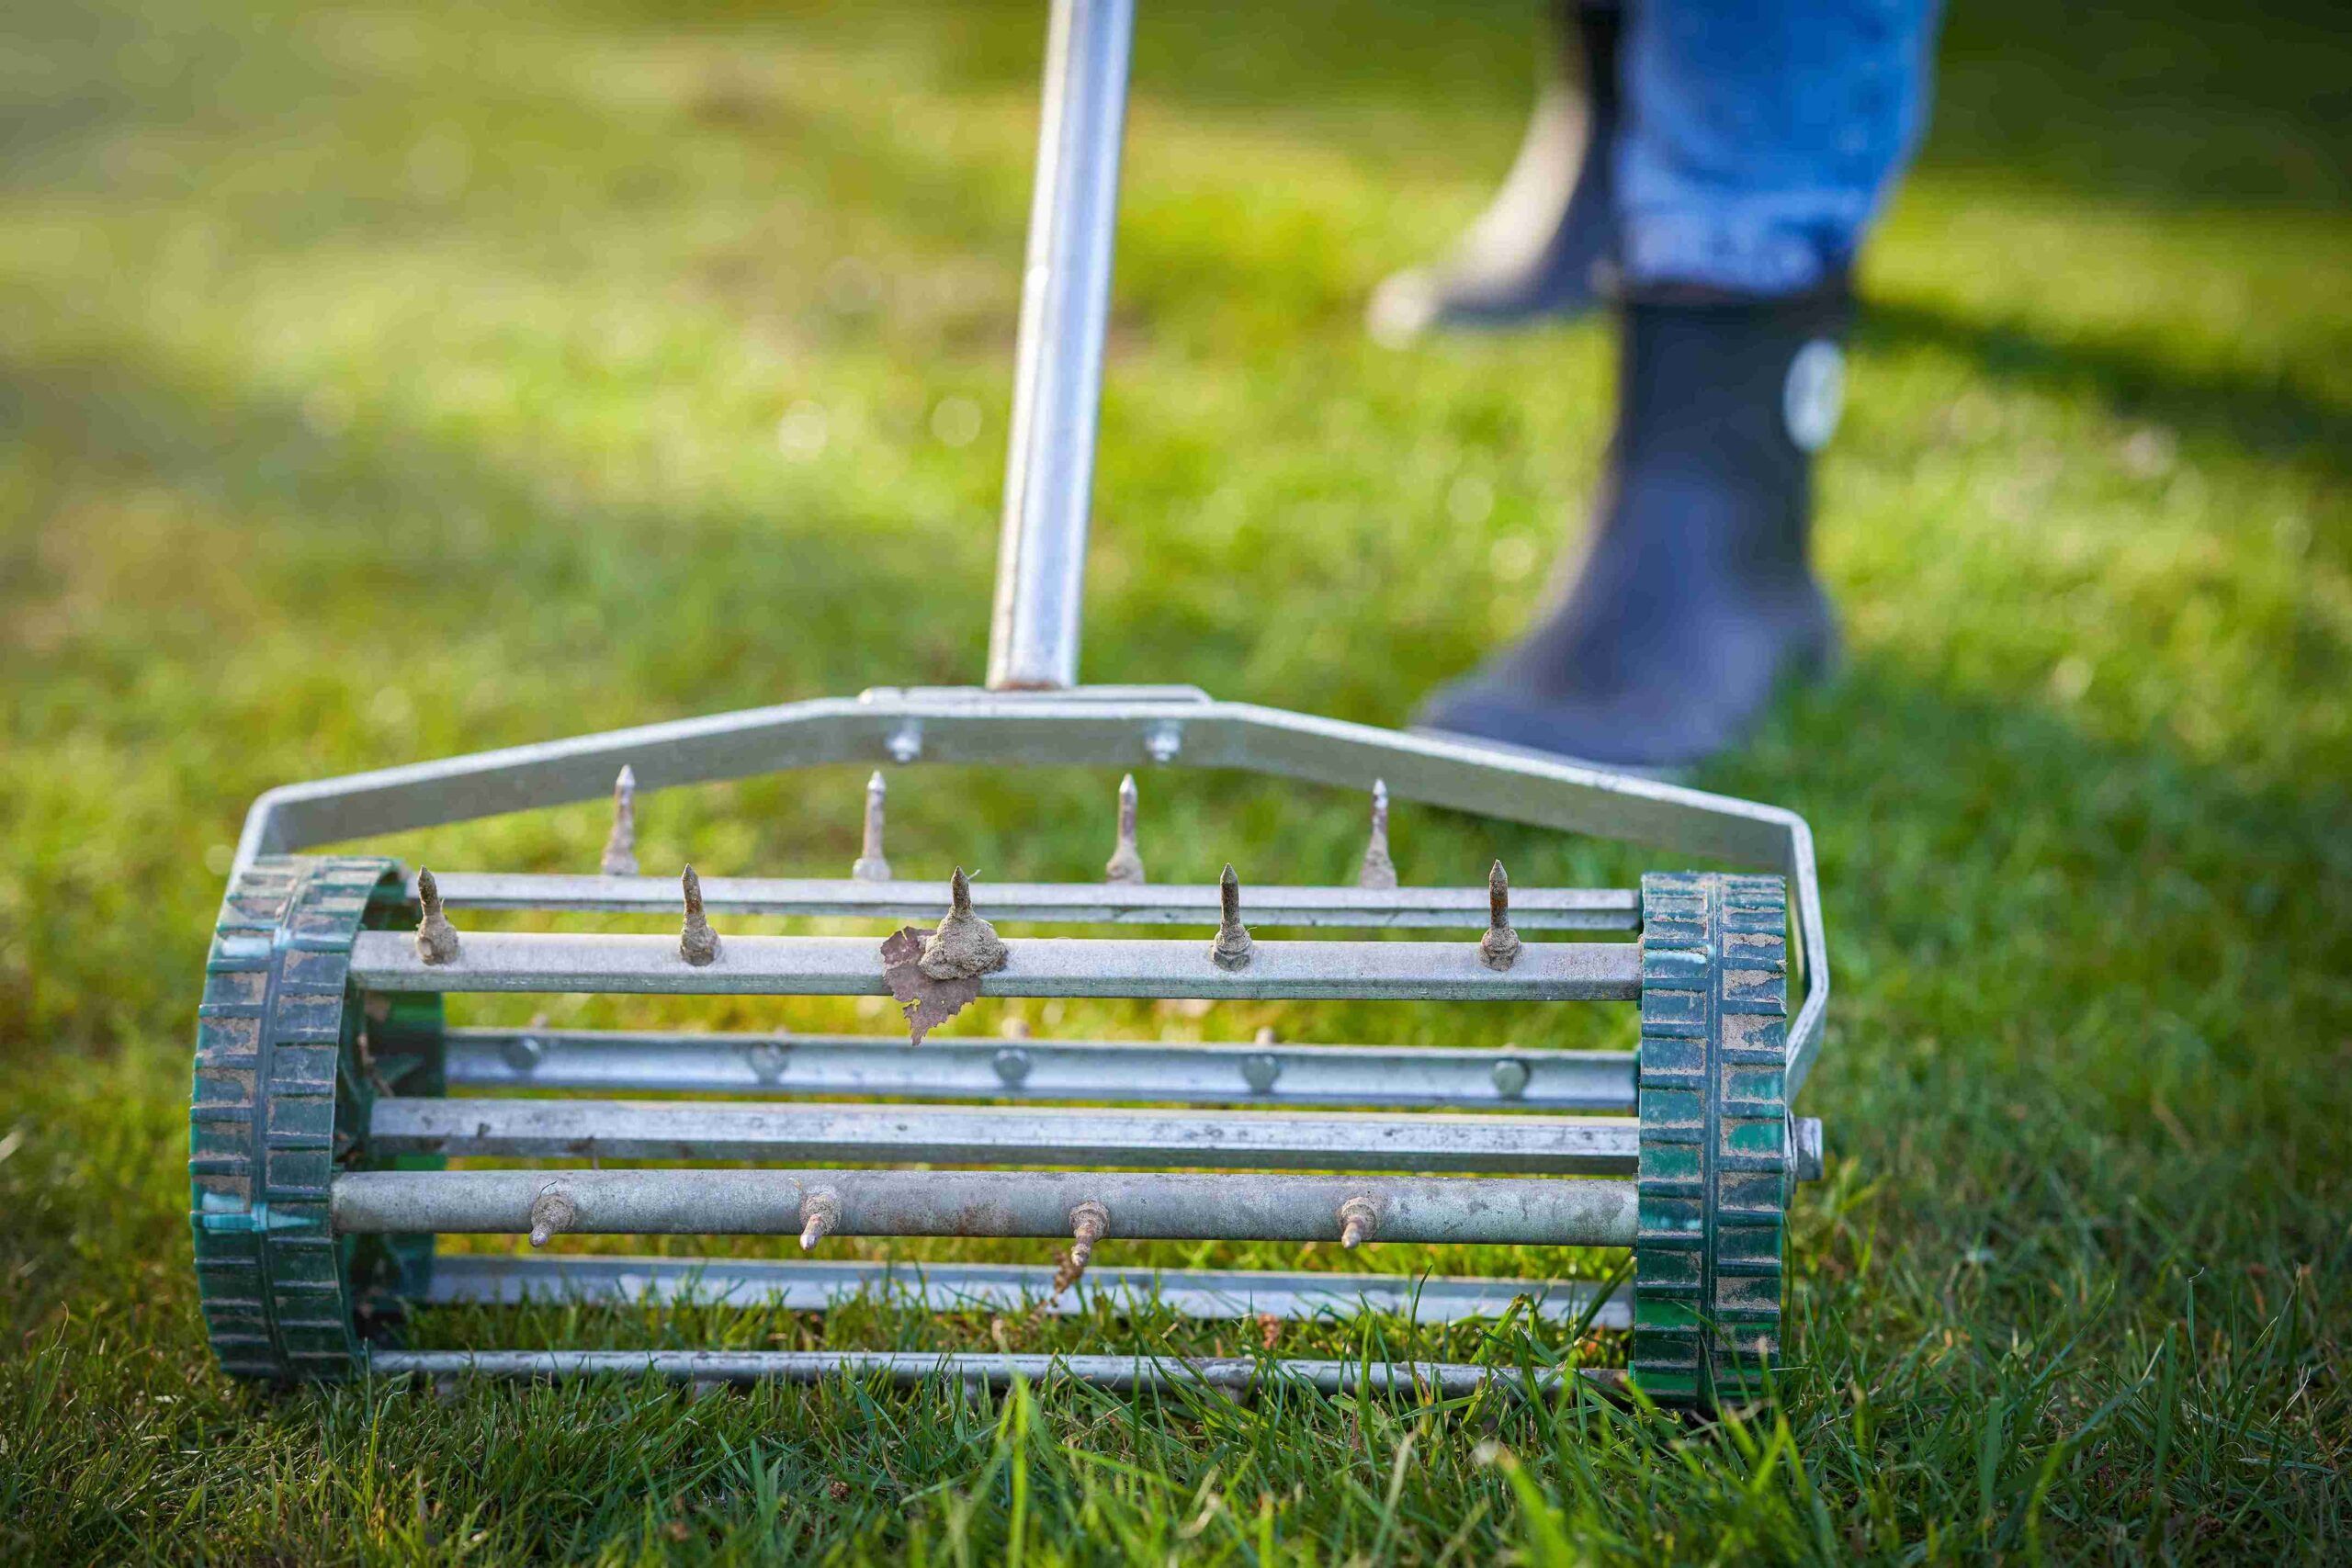
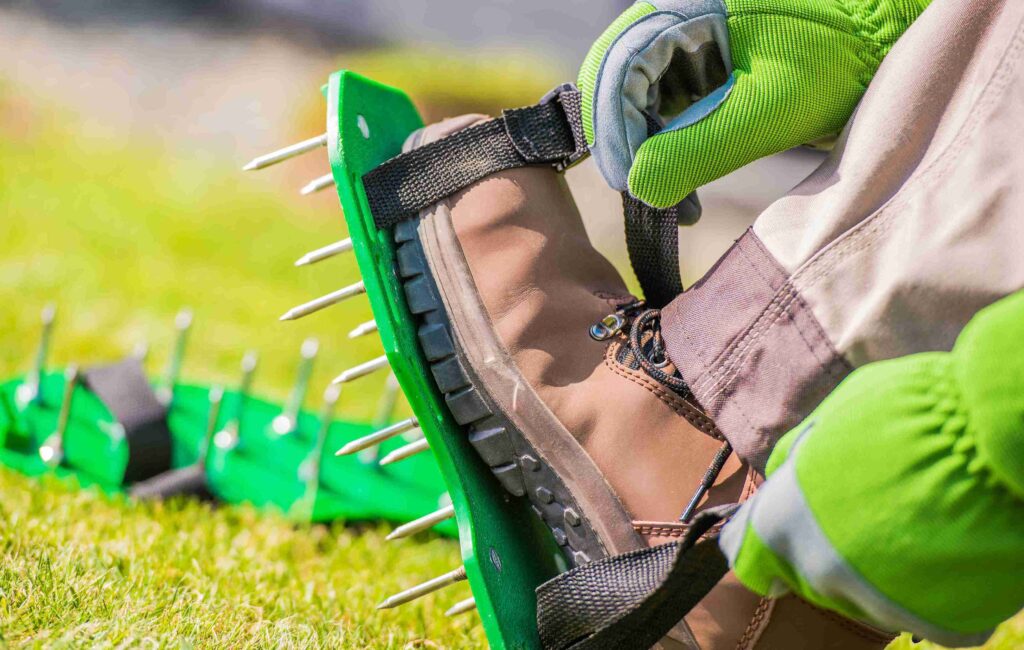
You can use a manual aerator or rent a power aerator if you have a larger lawn. 

Aerating is especially important if gasoline has really affected the soil because it helps reintroduce oxygen into the ground, which the grass desperately needs.

Reseed The Area

Now comes the fun part – reseeding

You’ll want to choose a grass seed that matches your lawn’s existing grass. If you don’t know exactly what kind of grass you have, go with a general-purpose seed for your region. 

Spread the seeds evenly over the area, making sure they’re in good contact with the soil. 

If you’ve a larger area, you might want to rent a broadcast spreader to make the job easier.

Water Properly And Fertilize

Once your seeds are down, water the area well. 

Keep the soil moist, but not soaked. Too much water can drown the seeds, and too little can cause them to dry out. It’s a balance. 

After a few weeks, once you start seeing some green growth, you can begin to cut back on the watering.

Fertilizing can also help speed up recovery. Use a fertilizer that’s appropriate for your type of grass. Look for one with a good balance of nitrogen, phosphorus, and potassium – this will give your grass the nutrients it needs to grow strong and healthy. 

Don’t overdo it, though. Too much fertilizer can actually harm the grass.

Wrapping Up

Spilling gasoline on your lawn isn’t the end of the world, but it can cause some serious damage. 

Gasoline can kill grass by messing with the soil, harming the grass roots, and disrupting the natural growth process. 

If you do spill gas, just follow the steps to clean it up, and you’ll minimize the impact. However, if the damage is done and you need to repair your lawn, it’ll take a little patience, but you can definitely bring it back to life. 

With some care and attention, your lawn will bounce back in no time.

In the end, accidents happen. The best thing you can do is stay calm, take action, and give your lawn the TLC it needs to recover.